Watch the tutorial on how to assemble your 3D Sports Hero
Additionally, you can find a step-by-step guide below too!
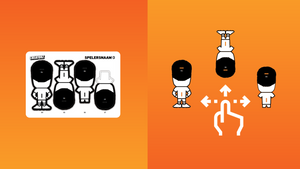
Step 1.
Carefully press-out out all the pieces from the sheets.
Do this from the back to the front, making sure that all the small parts, such as those between the arms and body, are also pressed-out.
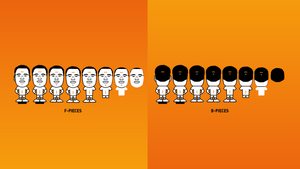
Step 2.
Sort all the F pieces and B pieces and arrange them in two rows in ascending order of size.
Tips for gluing:
1 – Apply glue to only one side.
2 – Do not apply glue too close to the edge.
3 – Do not use too much glue.
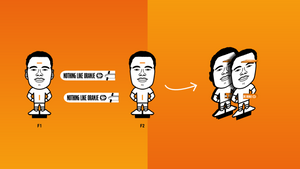
Step 3.
Start by gluing B1 and F1 together. Insert the pins into the holes and then press B1 and F1 together for 20 seconds. Then glue the other F pieces (F2-F6) on top of each other, making sure the arrow part points upwards. Check if the part is positioned correctly immediately after gluing each layer. Repeat the same step for the B pieces (B2-B6).
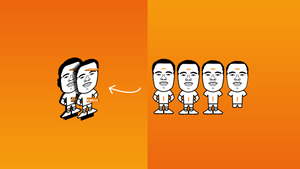
Step 4.
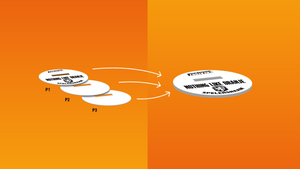
Slide P1 over thefoot of B2 to F2. Thenglue P2 onto P1. Glue P3 upside down onto P2. Thenpress P1 and P3 togetherfor 30 seconds. Thiscreates a three-layer base foryourfigureto stand upright.
Step 5.
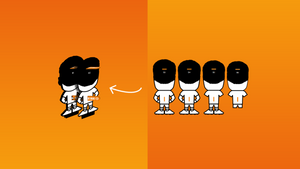
Remove the bottom pin from the figure and glue F7 and B7, then wait 20 seconds.
Step 6.
The final step is to remove the top pin from the figure and glue F8 and B8 (B9 / B10). Check if the parts are positioned correctly immediately after gluing for the best result.


